 Some of you may have noticed that my list of "things to do" in my sidebar included building a solar cooker. This item was born out of scientific interest rather than a real desire to cook in one. In the summer I cook very little, eating mostly fresh raw foods, and in the winter we get almost no direct sun on our property, except our roof, so that when I would like to use a solar cooker for soups and stews, I can't. So I viewed building a solar cooker as more of an experiment, and not something I would use much.
 So, in the interest of not wasting time and resources, I have shifted my experiment a bit, and plan on building a solar dehydrator. I love drying foods. Last year I got really into it and made jerky, dried fruits, and enough dried tomatoes to last us through the spring -- we use them every day, as snacks, on salads, in soups and pastas, and they are fantastic. Next year, I plan on drying much, much more. Drying appeals to me even more than canning because dried foods take up much less space, and we live in a small home.
How does one dry food? Well, basically you need air flow and low heat over a period of 8-24 hours. If you live in a humid climate, as much of the US tends to be, then "sun" drying outside can be a bit problematic. When I tried it, my tomatoes molded by the end of the day! I use an electric dehydrator that is specially designed for this task, but I would rather use no electricity. Enter the solar dehydrator.
By putting a few cardboard boxes together (or building one out of plywood), and adding some ventholes at the top and bottom, you create natural airflow and heat: Take one shallow box and paint it black with non-toxic water-based paint. Put a clear lid on it, and holes on both ends. Make your drying box with vents at the bottom on the side, and a screened in lid. Attach the two boxes with leftover cardboard. The bottom box will take cool air from the ground, heat it as it rises, and flow through the drying box where you have placed racks of food to dry on screens spaced 2-4 inches apart. Finally, it leaves the box through vents near the top of the box. On one website, someone pointed out that in the winter you can move the set up to a window area and created a solar heat box for your home. Not a bad idea!
If your foods don't dry by nightfall, bring them indoors to avoid molding. I'll probably dry outside during the day and finish off in the electric dehydrator during the night, since our house is fairly "moist" during the summer, too.
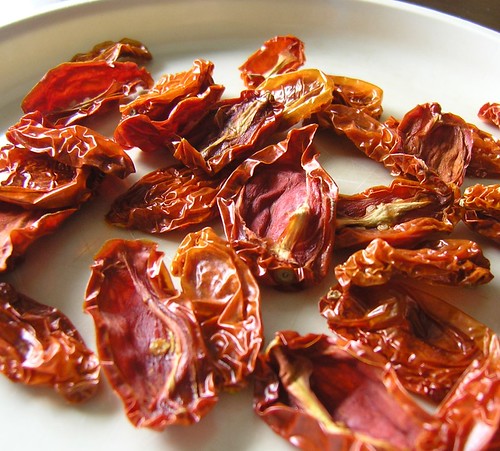
Et, Voila! Sundried tomatoes, cantaloupe, beans, onions, corn, carrots and almost any vegetable you can think of. I like to dry my tomatoes until they are very, very dry, much more than you get at the supermarket. Mine are preservative and salt-free, so they need that extra insurance to make it through the winter. Before you store your foods, let them cool completely, or you can have moisture build up in the containers.
No comments:
Post a Comment